
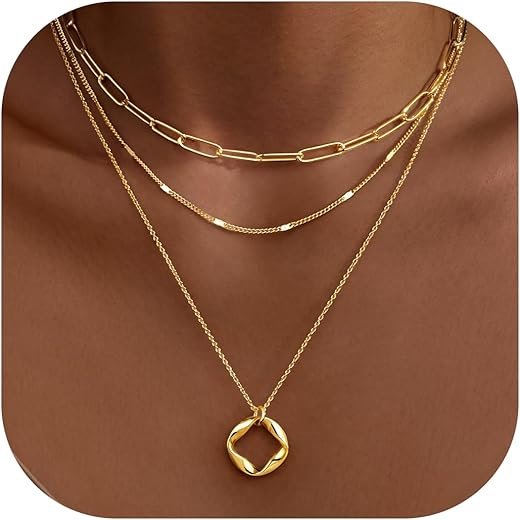
Why Stacked Necklaces Should Be Fun, Not Frustrating
Layering necklaces can transform any outfit, yet nearly half of people who wear them report frustration with tangles and uneven chains. The joy of mixing textures and charms shouldn’t be ruined by knotty clasps and midday fidgets. This guide aims to make stacking simple, stylish, and calm.
You’ll get quick, practical strategies: smart length choices, clasp and chain pairings, hands-on assembly tricks, storage tips for travel, and fast fixes for snarls. Each tip is designed to save time and keep your look intentional. By the end you’ll feel confident building stacks that sparkle—not tangle—and easy to maintain day after day. Wear them solo or layered—either way, enjoy your curated shine every time.

Essential Tools and Prep: What You Need Before You Start
Quick toolkit — what to have on hand
Start with a handful of small, inexpensive items that dramatically reduce tangles and speed staging:
Where to place the product example
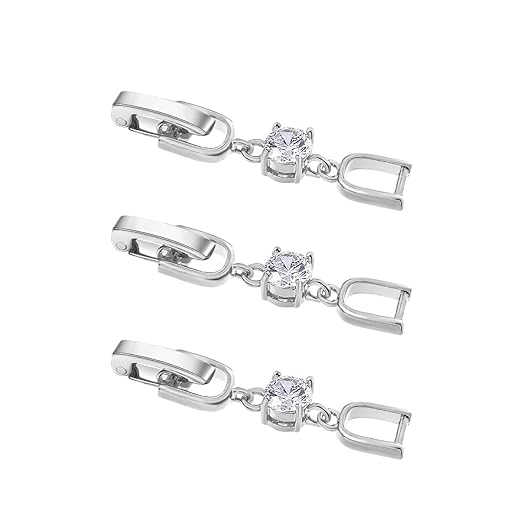
If you want an easy extender option you can clip on fast, consider additions like foldover extenders that add security to delicate chains.
DIY substitutes and practical prep
No budget? Use straws sliced lengthwise as tubing, paperclips bent into tiny hooks as spacers, or a standard safety-pin pinned to a camisole to pre-stage layers. For travel, roll necklaces individually in tissue paper inside a pill case.
Prep each necklace — do this every time
Lay each piece flat, untwist any kinks by rolling it between your fingers, check that the clasp springs cleanly and that jump rings are closed. If a chain is prone to snags, add a 1 cm cut of tubing near the clasp — instant anti-tangle.
A simple night-before routine (pre-stage on a hook or pinned to a shirt) turns morning layering into a two-minute, snarl-free habit.
Layering Principles: Lengths, Proportions, and Visual Flow
Staggered lengths: the simple math
Think in tiers: short (collarbone), mid (sternum), long (above/below bust). A classic, snarl-resistant stack uses three different lengths so chains sit on distinct planes. Practical starting points:
These ranges let you create 1–2″ of visible spacing between strands — enough breathing room to avoid overlap while keeping the set cohesive.
Spacing and visual weight
Chain thickness, texture, and pendant size determine visual weight. Rules of thumb:
Necklines and body proportion cues
Match length to neckline: crew and boat necks favor short-to-mid layers; V-necks pair beautifully with a mid + long combo that echoes the V. Plunging necklines welcome a dramatic long pendant as a focal point. For shorter necks, keep the top layer close (14–16″) and avoid many long pieces; longer necks can carry longer tiers. Broader chests benefit from wider spacing between strands to prevent visual crowding.
Plan the order on your body
Assemble on top-down: put the longest necklace on first, then layer upward, fastening each before adding the next. This keeps clasps accessible and prevents crossing. Use a spacer bar or a small extender to nudge a chain 1″ longer if two pieces threaten to meet. A quick mirror check and a gentle tug on each strand will reveal crossings before you step out.
Choose the Right Chains and Clasps: Materials That Play Nice Together
Quick chain primer: who tangles and why
Different chains behave like different personalities in a stack. Quick comparisons:
Real-world tip: a friend who wore three ultrafine cables found they braided on flights — swapping the middle for a thin box chain solved it instantly.
Clasps: pair for security and ease
Match clasp style to chain behavior and your lifestyle:
Practical pairing: use a lobster or spring ring on fine cable chains; reserve toggles and heavy lobster clips for curb/rope anchors. If you love magnets, combine them with a secondary safety clasp.
Finish, stiffness & pairing strategies
Polished finishes slide more (good for layered movement); matte/textured finishes add friction and reduce slipping. Stiffer chains (box, curb) make reliable middle or bottom layers; float delicate cables between them. Pair a bold, chunky chain with one or two fine lines to balance weight and minimize contact points where tangles form. Small changes—switching a center cable to a box—often eliminate snags without changing the look.
Next up: practical assembly techniques that make these pairings effortless to put on and keep tangle-free.
Assembly Techniques: How to Put Necklaces On Without the Snarl
Start smart: order matters
Fasten in the order that matches the pieces and your dexterity.
Pick the routine that feels easiest — I once avoided a tangle by habitually clipping the smallest clasp at my collarbone first.
Double-clasp and anchor hacks
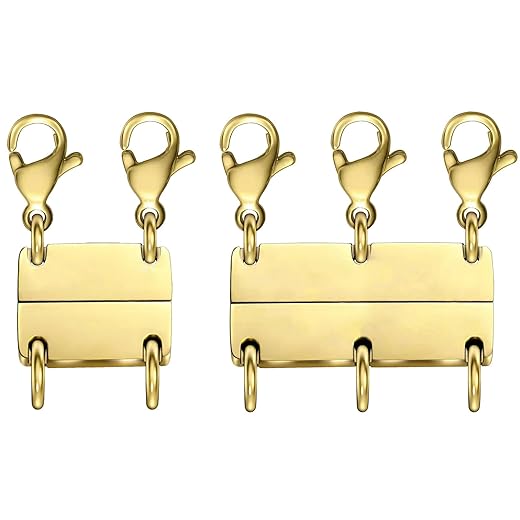
Use one anchor to control multiple chains.
Walkthroughs — visualized, text-only
Three-layer stack (pendant + two chains)
- Put the longest pendant over your head; clip its clasp behind neck.
- Clip the middle-length chain next, letting it fall naturally.
- Finish with the choker/shortest piece. If two clasps are small, clip them together on one jump ring and fasten once.
Mixed-length charms with mixed clasps
- Attach shorter spring-ring chains to a larger lobster using a split ring.
- Clip the lobster at your neck; unclasp the split ring later to separate when storing.
Spacers, separators & quick fixes
Small habits — anchoring, grouping clasps, and using spacers — turn a frantic morning into a five-minute, snag-free ritual.
Storage and Transit: Keeping Stacks Snag-Free When Not Worn
Dedicated at-home storage
Prevent tangles before they happen by giving each chain its own space. Good options:
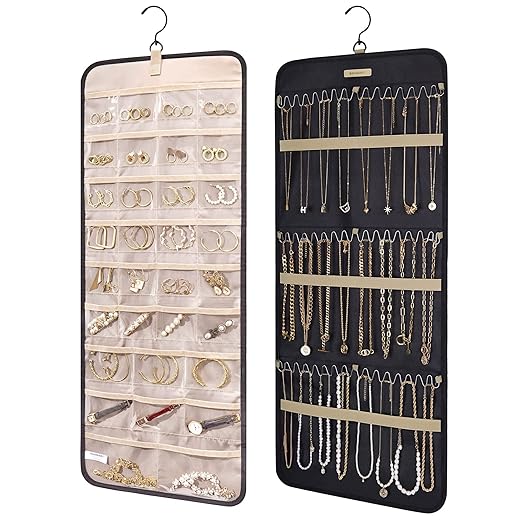
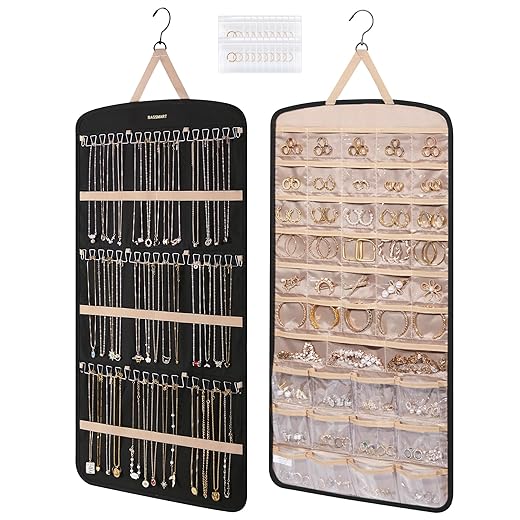
Choose a shallow tray for frequently worn stacks (easy grab-and-go) and a hanging or roll option for longer chains that benefit from gravity. Acrylic trays show what you own at a glance; velvet prevents sliding.
Travel-ready packing strategies
Small habits make travel stress-free:
For air travel, a travel case with removable foam inserts prevents movement; for city trips, a compact roll works well in a carry-on.
Selective storage habits
Be intentional about what stays assembled:
Maintenance and periodic checks
Every few months, lay stacks flat and:
Next up: quick, everyday fixes and smart detangling techniques to rescue a knot without a meltdown.
Fixes and Quick Hacks: Detangling, Repair, and Smart Shortcuts
Stepwise detangling on a flat surface
- Lay the stack on a clean, well-lit flat surface (white towel or felt works best) so knots are visible and pieces won’t slip.
- Anchor one end with a small weight (clip or paperclip). Work from the center of the knot outward, not by yanking the ends.
- Use a magnifier, a pair of fine tweezers, or two straight sewing needles to tease threads apart—insert needle tips at opposite sides of the knot and gently wiggle until the knot relaxes.
- If a knot is stubborn, add a tiny drop of baby oil or mineral oil with a toothpick to lubricate links; let it sit 30–60 seconds, then tease again. Clean oil off afterward with warm soapy water and dry thoroughly.
Precision tools and safety tips
When lubricants and cleaning warnings apply
Quick styling shortcuts & small repairs
Do’s and don’ts
Ready for the final polish? Move on to wearing your stack with confidence.
Wear Your Stack with Confidence
Start by gathering the right tools—soft cloths, slim clasps, and a few jump rings—then plan your stack by varying lengths, widths, and weights for balanced flow. Favor complementary metals and secure clasps, and assemble necklaces using simple tricks like safety pins, clips, and layered clasping to avoid snags. Store stacks flat or separated in pouches, and carry a tiny repair kit for on-the-go fixes.
Practice detangling with patience, a drop of oil, and fine needles when needed. Experiment boldly with combinations, keep a handful of reliable techniques handy, and wear your layered looks confidently every day and enjoy the process.
33 responses to “Stack Necklaces, Skip the Snarl”
Short tip: think short-medium-long. A 16, 18, 22 setup usually reads clean. Proportions > bling.
Exactly — keeping about 2–4 inches between focal points creates that layered flow without clutter.
Agree. Also vary chain thickness so they don’t all move the same way. Thin + medium + chunky = visual interest.
Yep Renee, mixing a dainty set like the Layered 3-Piece Dainty 14K Gold Necklace Set with a bolo or cable chain makes any outfit pop.
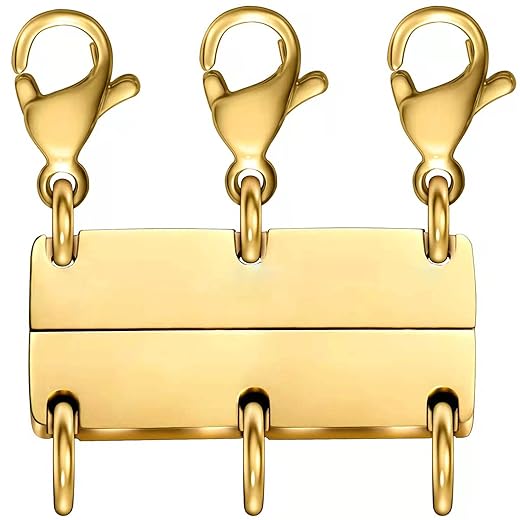
Short and sweet: this article convinced me to actually organize my necklaces. Bought the Extra Large Dual-Sided Hanging Jewelry Organizer and the Strong Magnetic Multi-Necklace Layering Clasp Separator — combo = saved mornings. Thanks for practical, no-nonsense advice.
Awesome, Noah — glad it worked out. If you travel a lot, pair that organizer with the Large Double-Sided Hanging Jewelry Roll with Hanger for flexible storage.
Same as Noah — magnets + organizer = zen. Pro tip: label rows for ‘daily’, ‘party’, and ‘sentimental’ so you grab faster.
Labeling is underrated! Glad the article helped spark a system you like.
Label idea is genius. Adding it to my weekend DIY project.
LOL I used to shove everything into a jewelry dish like a savage. Travel tip: the Large Double-Sided Hanging Jewelry Roll with Hanger is basically a soft hotel but for necklaces. No more tangled exes 😂
Also, the article’s storage section made me buy the Extra Large Dual-Sided Hanging Jewelry Organizer — space for sooo many stacks. pro move.
Ha! Glad the roll and organizer rescued you from the ‘jewelry dish chaos’ era. They really prevent the sad tangle pile.
Same here — bought the Extra Large Dual-Sided one and my scarves are jealous of the space I gave to jewelry. Worth every penny.
Okay long post but worth it:
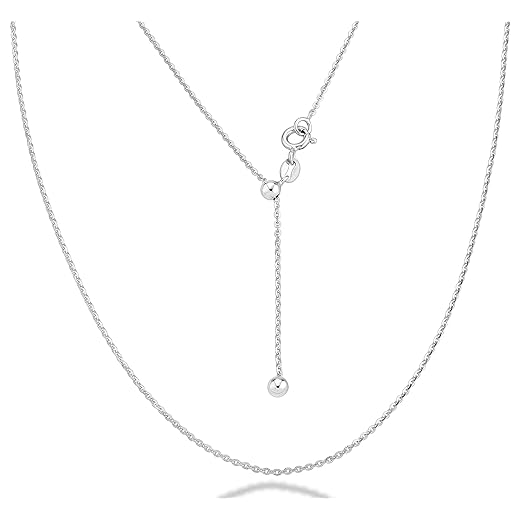
I used to spend 20 minutes detangling necklaces every morning. Followed the Assembly Techniques section and now it takes me 2 minutes. The Adjustable 14–24 Inch Bolo Cable Chain Necklace is so flexible for layering — it acts like a spacer and can change the visual flow without swapping chains. Also, keep small bowls for clasping if you’re doing more than two necklaces at once.
Bolo tip saved my sanity. Also, if you’re traveling the Large Double-Sided Hanging Jewelry Roll with Hanger fits perfectly in a suitcase and keeps stacks separate.
Love the bowl trick, Sofia — simple and effective. The bolo chain is underrated for its versatility.
Solid roundup. Quick question — has anyone tried the 3-Pack Rhinestone Foldover Extension Clasps vs the Strong Magnetic Multi-Necklace Layering Clasp Separator? I’m torn between aesthetics and ease. I want something that looks nice but also keeps things separate when I put them on.
I actually pair them: rhinestone ext for fancier outings and the magnet when I’m in a rush. Works well imo.
Tip: when using magnets, thread the chain through the separator first, then attach — this reduces sudden tension that can kink delicate cables.
I used the rhinestone foldovers for a while — prettier, but they can twist if the chain is super thin. Magnets are faster but sometimes too strong and can snag thinner chains.
Good comparison, Ethan. If appearance is key, go rhinestone; if you want speed, use the magnetic separator but pick one rated for delicate chains so the pull isn’t too abrupt.
Tried the Strong Magnetic Multi-Necklace Layering Clasp Separator and honestly it was meh for me. It pulls too hard on chain links sometimes and I had one thin chain kinked. The 18K Gold Plated Multi-Necklace Layering Clasp Connector worked better but be sure it’s soldered well — mine came with a flimsy ring.
Constructive stuff:
– Test connectors on cheap chains first
– Keep a tiny jewelry plier set nearby for quick fixes
– The article’s detangling hacks are spot on; baby oil + patience ftw
If it’s kinked beyond rescue, sometimes snipping and adding a tiny jump ring is faster than trying to un-kink. Carry a small repair kit.
Ugh that kinked chain feeling is the worst. I always use a bead of beeswax on clasps to slow sliding and it helps prevent sudden tugs from magnets.
Thanks all — gonna try beeswax before giving up on the magnet. And yep Adam, tiny repair kit has saved me on trips.
Great tip, Clara — we’ll include beeswax as a gentle friction aid in the fixes section.
Thanks for the honest review, Daniel. Sounds like your magnetic separator had too strong a pull for fine chains — we should add a note about checking the magnet strength vs chain gauge.
Nice article but wish there were more photos for the detangling steps. I tried the quick hacks section (baby oil + toothpick) and it mostly worked, but wanna see the motions. Also curious if the 3-Pack Rhinestone Foldover Extension Clasps hold up after months of wear?
Good point, Olivia — we’ll add step-by-step photos in the next update. As for the foldover clasps, quality varies by brand; they hold up if plated well and not overtightened. Rotate them out if you notice loosening.
I had one rhinestone clasp loosen after a year but the set was inexpensive. If you want durability look for sterling or solid components rather than plated.
Loved this — finally an article that gets how annoying tangled stacks are! I bought the Layered 3-Piece Dainty 14K Gold Necklace Set last month and these tips on proportions + the 18K Gold Plated Multi-Necklace Layering Clasp Connector saved my mornings. Also the Extra Large Dual-Sided Hanging Jewelry Organizer is a game changer for leaving stacks ready-to-go. 🙂
Agree 100%! I use the same organizer and hang the bolo chain pieces together — no more morning panic. Nice tip on spacing.
Quick add: if any chain still snags, try a tiny dab of clear nail polish on a rough clasp edge — it smooths things out without needing a repair.
So glad it helped, Maya! The connector really does cut down on fidgeting during get-ready time. If you like, try spacing the necklaces by 1–2 inches in length to avoid overlapping pendants.