
Give Your Wardrobe a Second Life
Ready to LOVE your closet again? This guide helps you turn tired tees and forgotten jeans into stylish pieces with simple tools, playful ideas, and easy steps, no sewing pro required. Start small, feel proud, and enjoy creative results today.
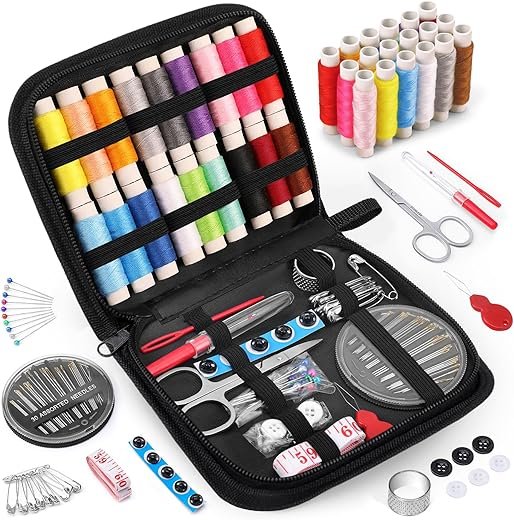
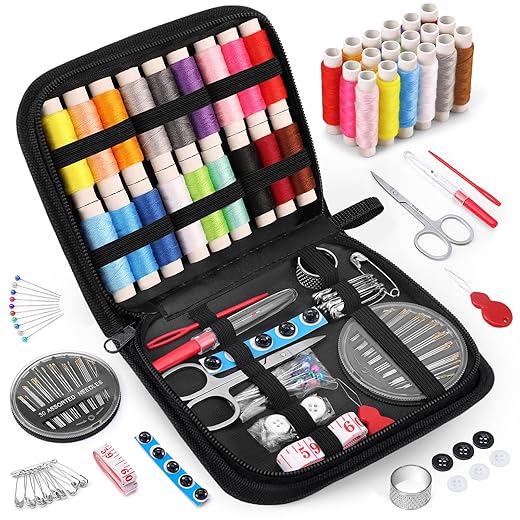
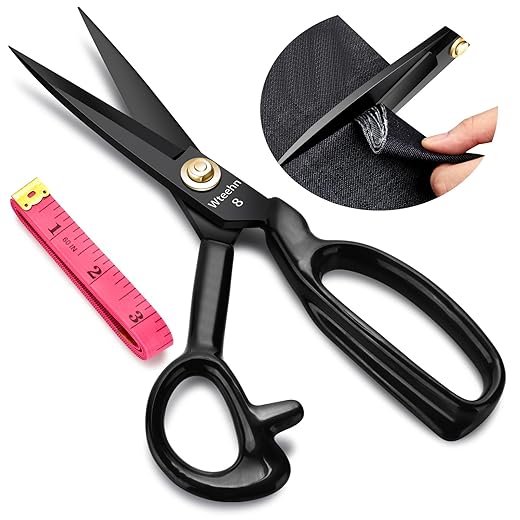
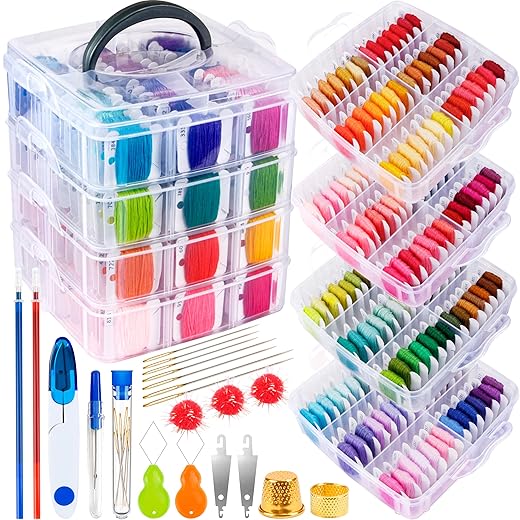
What You'll Need
Sort and Salvage: Choose the Best Candidates
Not all old clothes are trash—discover which pieces have hidden potential!Empty your wardrobe and sort garments into keep, mend, repurpose, and discard piles. Be decisive—this clears space and creative clutter.
Look for sturdy fabrics (denim, canvas, wool), intact seams, and pieces with standout prints or trims. Think about a floral maxi that can become a skirt, a sequined top you can resurface, or a leather skirt that can be resized.
Try items on, pin possible changes, and imagine combining two pieces (shirt + dress) to create something new.
This step saves time and sparks ideas—you’ll know which items are worth transforming before you cut.
Inspire and Plan: Sketch Simple Designs
Why guess when a quick sketch can turn a shrug into a statement piece?Measure each garment—bust, waist, hip, length—and note fabric stretch. Sketch 2–3 ideas per piece: crop a tee, turn a dress into a wrap skirt, or add embroidered panels to a denim jacket. Use quick thumbnail sketches rather than perfect drawings.
Create a simple mood board with reference photos to refine color, texture, and silhouette.
A clear plan reduces mistakes and helps you estimate time, materials, and effort for each upcycle.
Prep and Repair: Clean, Mend, and Stabilize
A little fixing goes a long way—mend first, glam up later.Inspect garments after a gentle wash to reveal pilling, stretched areas, and weak seams. Turn pieces inside out and mark trouble spots with a fabric pen.
Repair small holes and weak seams using basic stitches: use backstitch for strength, running stitch for quick fixes, and whipstitch for raw edges. Reinforce high-wear areas with small fabric patches. Example: patch a moth hole on a sweater cuff with a matching knit scrap.
Stabilize waistbands and necklines with narrow clear elastic or lightweight interfacing; stitch with a zigzag or stretch stitch. Press seams and hems with steam for crisp lines.
Wash and dry fabrics following care labels to reveal true condition. Repair small holes and weak seams using basic stitches or reinforcing patches. Remove stubborn stains with targeted treatments or embrace them as design features. Stabilize stretchy areas (like waistbands) and press fabrics for crisp lines. Proper prep ensures durability and a polished final look.

Cut and Reconfigure: Alter Shapes with Confidence
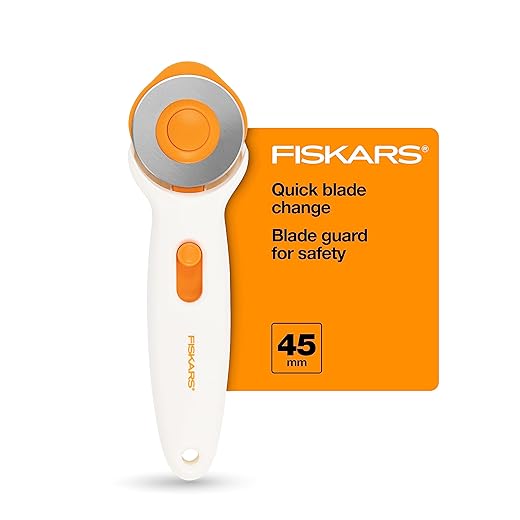
Scissors can be as powerful as a stylist—cut smart, not savage.Lay garments flat and transfer any pattern markings from your sketches.
Start with small cuts—crop hems, remove sleeves, or open side seams—to test how fabric behaves.
Pin garments on a mannequin or on yourself and adjust fit before sewing; use safety pins or tailor’s tacks to lock positions.
Combine fabric panels from different pieces for patchwork or colorblocking; stitch a quick sample seam to check stretch and weight.
Keep leftover scraps for future trims or appliqué.
Sew, Glue, and Embellish: Add Personality
Buttons, paint, and patches—tiny details create big style wins.Use basic stitches or a sewing machine to assemble altered pieces, reinforce seams, and add hems.
Reinforce high-stress points with backstitching or topstitching; finish raw edges with zigzag or bias tape.
Apply fabric glue for quick fixes or to attach trims when sewing isn’t practical; press and cure per product instructions.
Embellish focal areas—embroider a pocket, add an iron-on patch to a denim jacket, set studs on a collar, or paint a bold motif on a tee—to turn basics into statements.
Balance embellishment—focus on collars, cuffs, or pockets for a high-impact look.

Fit, Finish, and Style: Final Touches That Sell the Look
Try it on, tweak it, and snap a selfie—small tweaks make outfits pop.Try on each transformed item and adjust fit: take in seams, shorten hems, or add elastic where needed.
Press garments, trim loose threads, and reinforce weak stitches; for example, take in a blouse side seam ½–1 inch to remove gaping.
Create styling options—pair a cropped top with high-waist jeans, layer a turtleneck under a slip dress, or belt an oversized shirt—and photograph outfits for reference.
Enjoy wearing or gifting your new, upcycled pieces.
Ready to Wear Your Creativity
With simple planning and these six steps, old clothes become fresh, wearable trends. Start small, experiment often, learn from mistakes, and enjoy evolving your style. Try a project today, then share photos and inspire others.
52 responses to “6 Easy Steps to Transform Old Clothes into Trendy Wear”
I am officially obsessed with this guide. Tried the whole process last weekend and now have two ‘new’ pieces that feel boutique-made. The ‘Fit, Finish, and Style’ section really teaches you how to present the piece like it’s intentional. 10/10 recommend to anyone with sentimental old clothes ❤️
Thrilled to hear it, Zoe! Presenting a piece confidently does half the work — glad the guide helped.
I hit a local flea market and found vintage buttons — tiny details make a big difference!
Where did you source your buttons and trims? I love finding unique accents.
Fun guide. I tried making a tote bag from an oversized sweater — used ‘Cut and Reconfigure’ to make the body, and ‘Sew, Glue, and Embellish’ for the straps. It turned out surprisingly sturdy.
Also, PSA: when in doubt, double-stitch stress points. Rule of thumb inherited from my grandma (rest in peace).
Nice project idea! Tote bags from sweaters are cozy and eco-friendly. Double-stitching is wisdom from the ages.
How did you stabilize the sweater hem for the tote opening?
Grandma-approved techniques are the best. Also consider lining the tote for durability.
I used a strip of canvas as an internal band and topstitched it — worked like a charm.
Okay, long post because I tried the whole 6-step flow and here’s my honest saga:
1) Gave my wardrobe a second life — found a shaggy cardigan from college.
2) Sketched a shorter, boxy cardigan with new cuffs.
3) Was lazy, so I just hand-washed and patched some holes (prep and repair).
4) Scared to cut, but ‘Cut and Reconfigure’ encouraged me. I went slow and it paid off.
5) Sewed on some cute buttons, glued a patch (took forever to dry). Embellish step was fun.
6) Fit, finish — added a belt loop and now it’s my go-to cozy outer layer.
If you’re thinking of trying this, patience + an old mug of tea is key. 😂
Love the step-by-step recap, Sofia! Your process is exactly how we imagined readers would work through it. The tea part is very important — craft fuel. 😉
Sofia, bravo! Which glue did you use? Some glues make fabric stiff as cardboard.
I used fabric glue rated for stretch fabrics — small amounts and pressing under a book worked for me. Patience is the trick!
Haha same, tea + craft slump survival kit. Any tips on drying glued patches faster without warping fabric?
Quick tip: when mending denim, use a small zigzag stitch and reinforce with interfacing from the inside. Saved an old pair of jeans I loved. Article could’ve had a more detailed section on denim though.
Great tip, Marcus. We’ll consider adding a denim-specific mini-guide. Interfacing + zigzag is a winner.
Yes! Denim behaves so differently, would be great to see recommended needle sizes and thread types too.
I had a disaster (long story) but here’s my recovery plan that worked:
1) If your cuts are off, add panels from other salvaged pieces.
2) Use decorative stitching to disguise uneven hems.
3) Try asymmetry — sometimes mistakes look intentional.
If anyone’s embarrassed by a botched project, embrace the wonky look. It’s very on-trend.
Solid recovery tactics, Nina. Asymmetry as a style choice is a smart pivot for salvage situations.
Agreed — thrown-together asymmetry can look editorial if you own it.
Tried the ‘Cut and Reconfigure’ on a button-down shirt last night. Ended up making it into a vest. Pro-tip: use chalk to mark cuts, not pen. I made that mistake once… 😅💀
Chalk is definitely preferable — erasable and fabric-safe. Thanks for sharing your vest result!
Haha chalk saved me too. Accidentally used marker once and had to dye the whole shirt to hide it.
Vest pics?? Sounds awesome.
Wanted to shout out the ‘Prep and Repair’ section. Cleaning and stabilizing made the biggest difference for me before any cuts. Also, a tiny repair kit (needles, thread, small patches) is a game-changer for thrift flips.
Does anyone have brand recs for small, travel-friendly sewing kits?
You can get mini repair kits super cheap. Keep one in your bag for emergencies.
Yes — prepping is underrated but so important. Love the repair kit recommendation.
Singer and Dritz make solid travel kits. Basic but durable.
Constructive critique: the article glosses over fabric types a bit too quickly. Knowing which fabrics fray more, which can be glued, and which need special needles would help beginners avoid costly mistakes. Still, good flow and the 6-step structure is tidy.
Thanks, Grace. We plan to add a quick fabric cheat-sheet so readers can match techniques to materials.
Yes please — I accidentally tried glue on silk once. Not my finest hour.
I scanned the article expecting wizard-level transformations. Got realistic, doable steps instead. Not a bad surprise. If you’re the type who thinks ‘I can’t sew’, there’s enough glue and embellish options to still make something cool. Also, the sketching part felt a bit like art class — I flunked that in middle school but survived 😂
We tried to keep things approachable. Sketching doesn’t need to be perfect — it’s about planning proportions. Glad it was a pleasant surprise.
Art class trauma club here. Start with stick-figure outlines, honestly works for clothing layouts.
Loved the step about ‘Sort and Salvage’ — that bit alone saved me from tossing a whole bag of clothes. Simple, practical, and I actually tried the ‘inspire and plan’ sketch trick. Made me less scared to cut into a beloved tee!
So glad it helped, Olivia! Sketching first really lowers the risk of ruining something you love. If you want, share a photo of your sketch — community feedback is great.
Please share pics!! Always inspiring to see before/after.
Totally agree. I used the sketch method last weekend. Ended up with a crop top I wear all the time.
Good overall guide but missing a couple of practical safety notes:
– Use sharp scissors for clean cuts (dull ones snag fabric)
– Watch your fingers when reconfiguring slippery materials
– If you’re new to sewing, test stitches on scrap fabric first
Otherwise, loved the ‘Fit, Finish, and Style’ tips — they really made my refashion look professional.
Excellent suggestions — safety and practice are crucial. We’ll add a small ‘safety and tools’ box in the next update. Thanks!
Good point. The article could also link to beginner sewing tutorials for absolute newbies.
Agree on the scrap fabric testing. Saves so much frustration.
Noted — we’ll include beginner resources and safety tips soon.
Also mention messing with seam allowances — I botched one project by assuming all seams were the same.
This guide is great for teens and college kids. Low budget, high style. Might be less helpful for people wanting to redo structured pieces like blazers, but still a nice start.
Blazers are tough. Shoulder pads are the worst to deal with.
Good observation — structured garments need more specialized techniques. We could add an advanced section later.
Just a quick shout: embellishments can make or break a piece. Buttons, patches, and a bit of embroidery turned an ugly sweater into something I’d wear to brunch. Don’t overdo it though — balance is key.
What kind of embroidery did you do? I’m hopeless with hand stitching but eager to learn.
Simple running stitch outlines and a few satin stitch flowers. Took an evening and some podcasts.
Absolutely — embellishments are personality, not overkill. Glad your sweater got a second life!